

White-label branding
Use your own branding on surveys, check the participant view, and understand which plans include customization.
White-label branding lets you use your own logo, colors, domain, and sender address when collecting feedback. It is included with Pro, Business, and Enterprise. Free workspaces show the settings with upgrade notices for paid controls.
Choose what to customize
Section titled “Choose what to customize”| Goal | Guide |
|---|---|
| Use your logo, app name, colors, and browser icon | Set up app branding |
| Share surveys on a domain you control | Connect a custom domain |
| Send invitations and reminders from your address | Send branded email |
Start with your logo and colors. Domain and email setup also need access to your DNS provider, which manages the records for your domain.
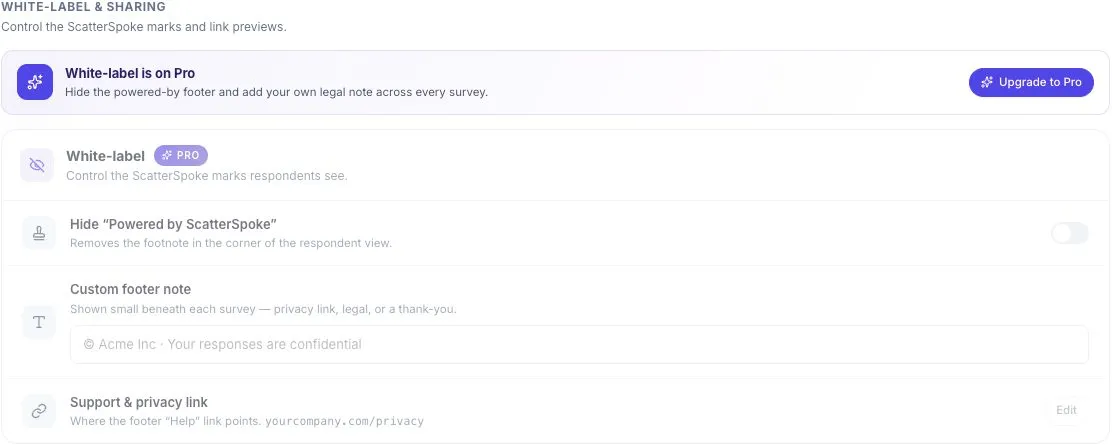
Set the footer
Section titled “Set the footer”Open Settings → Branding and find White-label.
- Review Hide “Powered by ScatterSpoke” and Custom footer note.
- Enter a short footer note if needed, such as Thank you for helping us improve.
- Select Save changes in the page header.
- Open a participant link and check the result.
A footer note does not change how responses are collected or who can read them. Only promise anonymous or confidential handling when it matches your survey settings and your team’s access policy.
Check the finished experience
Section titled “Check the finished experience”Open a survey link in a separate browser window. Check that the logo is readable, the colors have enough contrast, and the name matches what participants expect. Also paste the link into your usual messaging tool to check its preview.
The survey’s Anonymous label comes from its collection settings. Branding controls do not turn anonymity on or off. See The participant experience.
If your plan changes
Section titled “If your plan changes”Custom branding depends on your workspace having paid branding access. If the workspace moves to Free, participants see ScatterSpoke branding even though saved branding settings remain stored.
Check Settings → Billing if your branding stops appearing. See Plans and tiers for access requirements.