

Workspace settings
Change your workspace name and approved domains, find settings, and manage ownership.
Workspace settings control your workspace name and approved email domains. Open Settings → Workspace. You need admin access.
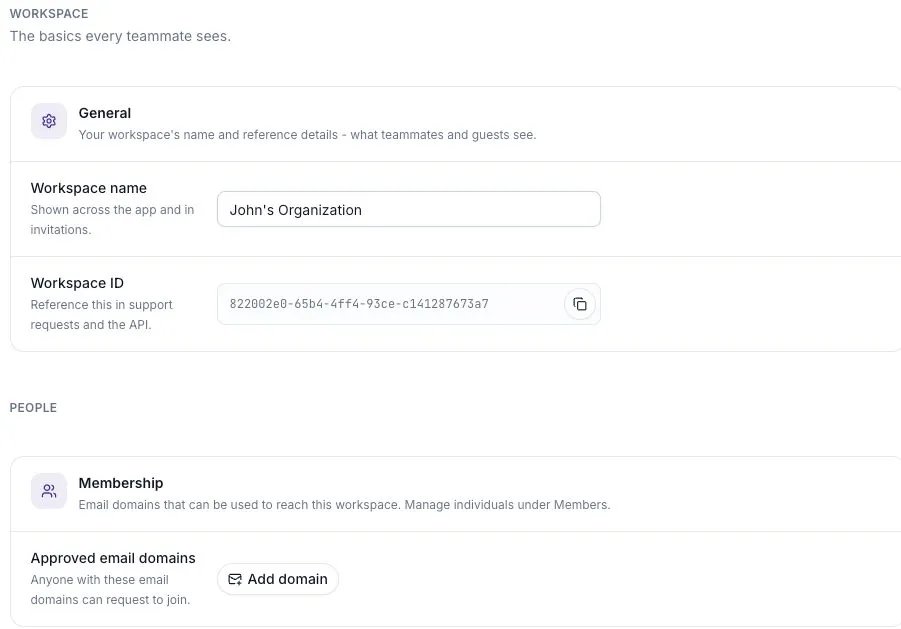
Change the workspace name
Section titled “Change the workspace name”- Edit Workspace name.
- Select Save changes in the page header.
- Wait for All changes saved before leaving.
Choose a name your team will recognize, such as Acme Product. The name appears across the app and in invitations. Discard restores the last saved values.
The Workspace ID is a separate, read-only identifier. Use its copy button when support or an integration asks for it. Changing the name does not change the ID.
Manage approved email domains
Section titled “Manage approved email domains”Under Approved email domains, add a domain without the @, such as acme.com. People with an address on an approved domain can request to join.
Review this list when your company changes domains. An approved domain is not a substitute for reviewing who has workspace access. Use Users to manage invitations and Roles to manage permissions.
Find the right settings page
Section titled “Find the right settings page”| To do this | Open |
|---|---|
| Change the workspace name or approved domains | Workspace |
| Change your password, add a passkey, or manage sessions | Profile |
| Review the plan, usage, invoices, or payment method | Billing |
| Invite Seat Holders or review access requests | Users |
| Organize people into teams | Teams |
| Set logos, colors, a domain, or branded email | Branding |
| Review roles and permissions | Roles |
| Configure single sign-on | SSO |
The pages you can use depend on your role and plan. Your personal security settings are under Profile.
Some advanced pages are reached directly: Admin Controls, Groups, Audit Log, and API keys. Opening a link does not bypass its access requirements.
Transfer ownership
Section titled “Transfer ownership”The current owner can select Transfer in the danger zone and choose another eligible workspace user. The recipient must be an active Seat Holder with full administrator access; inviting them as a Member is not enough. The current flow also excludes memberships marked as Participants. If the intended recipient does not appear, check their membership and role in Settings → Users, and contact support if they remain ineligible. Do not grant administrator access to someone who should not control the workspace.
Read the confirmation before completing the transfer: the new owner takes control of the workspace, including billing and deletion. Transfer ownership before the current owner leaves your company.
Delete a workspace
Section titled “Delete a workspace”Delete workspace asks you to type the workspace name. It archives the workspace and makes its data and teams inaccessible. Export anything you need and make sure you are in the correct workspace before confirming.
To clean up a few surveys, use Archive on those surveys instead. Workspace deletion is not a survey cleanup tool.
Set a retention policy
Section titled “Set a retention policy”Admin Controls shows your workspace summary and Data Retention Policy. Read Data retention before changing it: shortening the window can permanently remove older feedback.